
(Note: this is part of my ongoing series on cheaply selfhosting)
It’s been a few months since I started down the selfhosting/home server journey. Thanks to Docker, it has been relatively smooth sailing. Today, I have a cheap mini-PC based server that:
- blocks ads / online trackers on all devices
- stores and streams media (even for when I’m out of the house)
- acts as network storage (for our devices to store and share files)
- serves as a personal RSS/newsreader
The last one is new since my last post and, in the hopes that this helps others exploring what they can selfhost or who maybe have a home server and want to start deploying services, I wanted to share how I set up FreshRSS, a self-hosted RSS reader (on an OpenMediaVault v6 server)
Why a RSS Reader?
Like many who used it, I was a massive Google Reader fan. Until 2013 when it was unceremoniously shut down, it was probably the most important website I used after Gmail.
I experimented with other RSS clients over the years, but found that I did not like most commercial web-based clients (which were focused on serving ads or promoting feeds I was uninterested in) or desktop clients (which were difficult to sync between devices). So, I switched to other alternatives (i.e. Twitter) for a number of years.
FreshRSS
Wanting to return to the simpler days where I could simply follow the content I was interested in, I stumbled on the idea of self-hosting an RSS reader. Looking at the awesome-selfhosted feed reader category, I looked at the different options and chose to go with FreshRSS for a few reasons:
- It had the most Github stars of any feed reader — an imperfect but reasonable sign of a well-liked project.
- It has been around for over 10 years! and as a result has attracted a community of extension developers and even cloud RSS service providers — suggests the product has real stability and traction which will be helpful if things go wrong
- It’s available as a Docker container on linuxserver.io — linuxserver.io is well-known for hosting and maintaining high quality and up-to-date Docker container images
Installation
To install FreshRSS on OpenMediaVault:
- If you haven’t already, make sure you have OMV Extras and Docker Compose installed (refer to the section
Docker and OMV-Extrasin my previous post, you’ll want to follow all 10 steps as I refer to different parts of the process throughout this post) and have a static local IP address assigned to your server. - Login to your OpenMediaVault web admin panel, and then go to
[Services > Compose > Files]in the sidebar. Press the button in the main interface to add a new Docker compose file.
UnderNameput downFreshRSSand underFile, adapt the following (making sure the number of spaces are consistent)
You’ll need to replaceversion: "2.1"
services:
freshrss:
container_name: freshrss
image: lscr.io/linuxserver/freshrss:latest
ports:
- <unused port number like 3777>:80
environment:
- TZ: 'America/Los_Angeles'
- PUID=<UID of Docker User>
- PGID=<GID of Docker User>
volumes:
- '<absolute path to shared config folder>/FreshRSS:/config'
restart: unless-stopped<UID of Docker User>and<GID of Docker User>with the UID and GID of the Docker user you created (which will be1000and100if you followed the steps I laid out, see Step 10 in the section “Docker and OMV-Extras” in my initial post)
I live in the Bay Area so I set the timezoneTZtoAmerica/Los_Angeles. You can find yours here.
Underports:, make sure to add an unused port number (I went with3777).
Replace<absolute path to shared config folder>with the absolute path to the config folder where you want Docker-installed applications to store their configuration information (accessible by going to[Storage > Shared Folders]in the administrative panel).
Once you’re done, hitSaveand you should be returned to your list of Docker compose files for the next step. Notice that the newFreshRSSentry you created has aDownstatus, showing the container has yet to be initialized. - To start your FreshRSS container, click on the new
FreshRSSentry and press the (up) button. This will create the container, download any files needed, and run it.
And that’s it! To prove it worked, go toyour-servers-static-ip-address:3777from a browser that’s on the same network as your server (replacing3777if you picked a different port in the configuration above) and you should see the FreshRSS installation page (see below)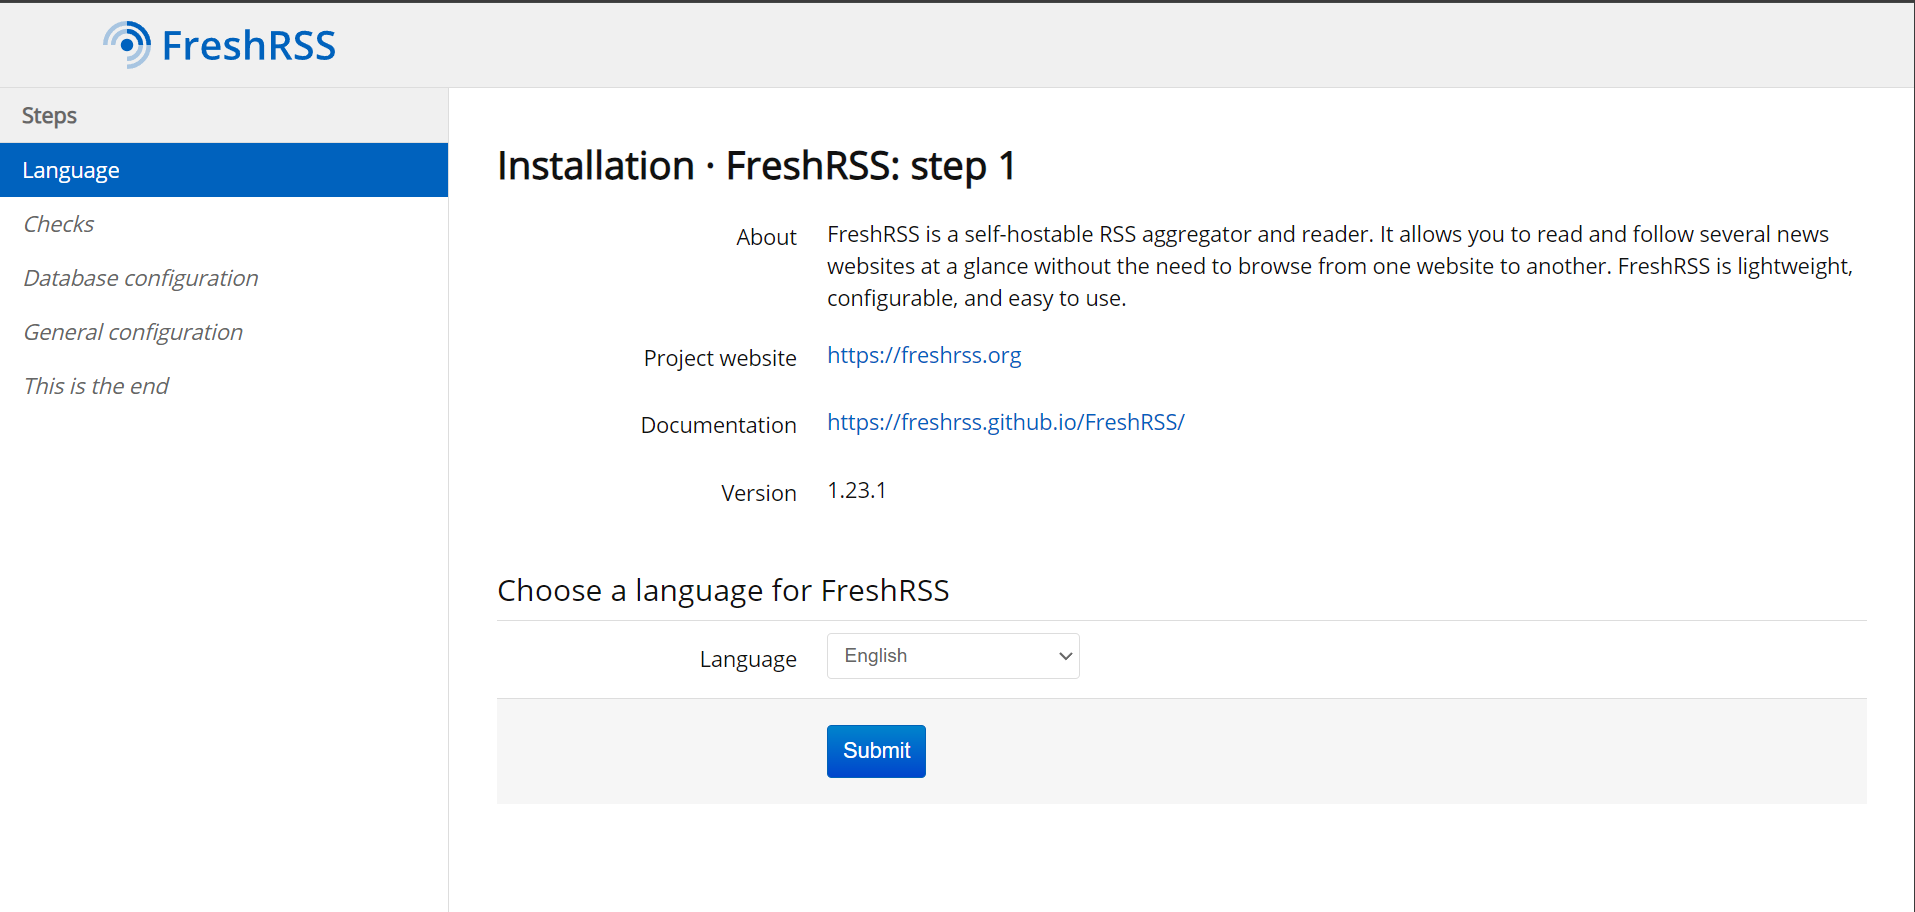
- You can skip this step if you didn’t (as I laid out in my last post) set up Pihole and local DNS / Nginx proxy or if you don’t care about having a user-readable domain name for FreshRSS. But, assuming you do and you followed my instructions, open up WeTTy (which you can do by going to
wetty.homein your browser if you followed my instructions or by going to[Services > WeTTY]from OpenMediaVault administrative panel and pressingOpen UIbutton in the main panel) and login as the root user. Run:
Pick out the file you created before for your domains and runcd /etc/nginx/conf.d
ls
This opens up the text editor nano with the file you just listed. Use your cursor to go to the very bottom of the file and add the following lines (making sure to use tabs and end each line with a semicolon)nano <your file name>.conf
And then hitserver {
listen 80;
server_name <rss.home or the domain you'd like to use>;
location / {
proxy_pass http://<your-server-static-ip>:<FreshRSS port number>;
}
}Ctrl+Xto exit,Yto save, andEnterto overwrite the existing file. Then in the command line run the following to restart Nginx with your new configuration loaded.
Now, if your server sees a request forsystemctl restart nginxrss.home(or whichever domain you picked), it will direct them to FreshRSS.
Login to your Pihole administrative console (you can just go topi.holein a browser) and click on[Local DNS > DNS Records]from the sidebar. Under the section calledAdd a new domain/IP combination, fill out underDomain:the domain you just added above (i.e.rss.home) and next toIP Address:you should add your server’s static IP address. Press theAddbutton and it will show up below.
To make sure it all works, enter the domain you just added (rss.homeif you went with my default) in a browser and you should see the FreshRSS installation page. - Completing installation is easy. Thanks to the use of Docker, all of your PHP and files will be configured accurately so you should be able to proceed with the default options. Unless you’re planning to store millions of articles served to dozens of people, the default option of
SQLiteas database type should be sufficient in Step 3 (see below)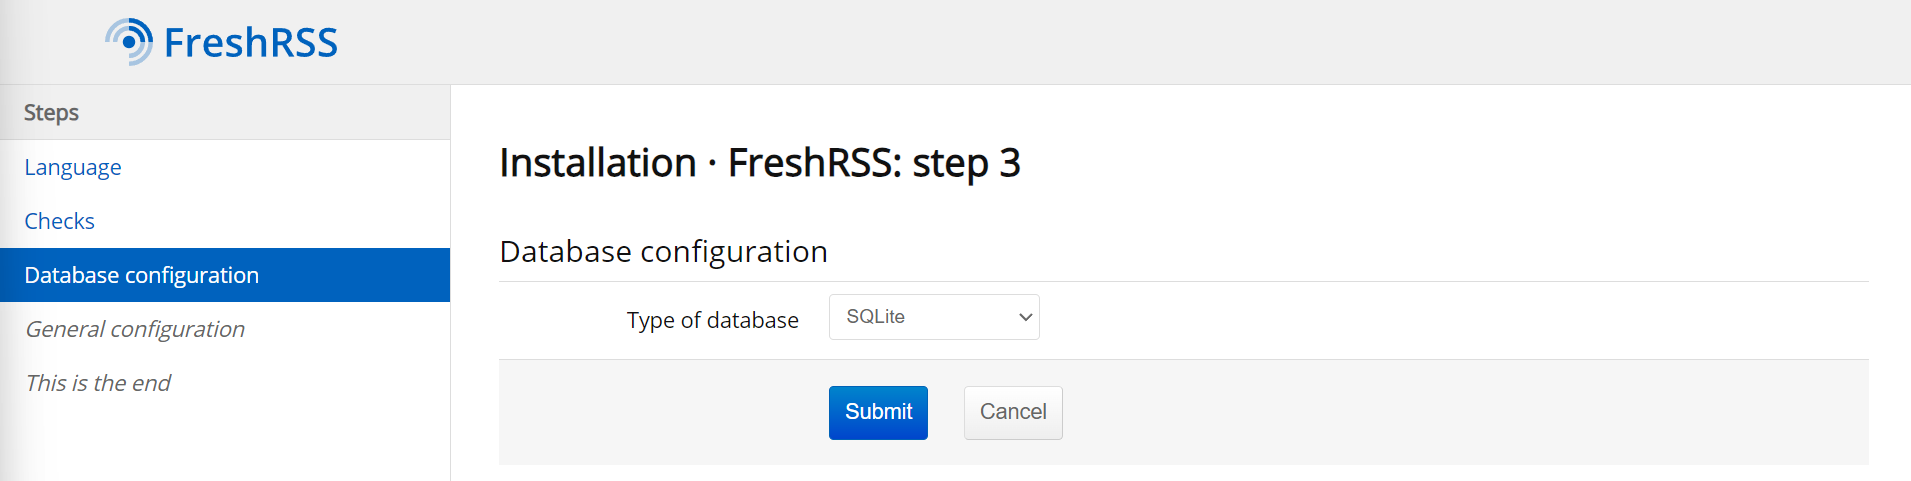
This leaves the final task of configuring a username and password (and, again, unless you’re serving this to many users whom you’re worried will hack you, the default authentication method ofWeb formwill work)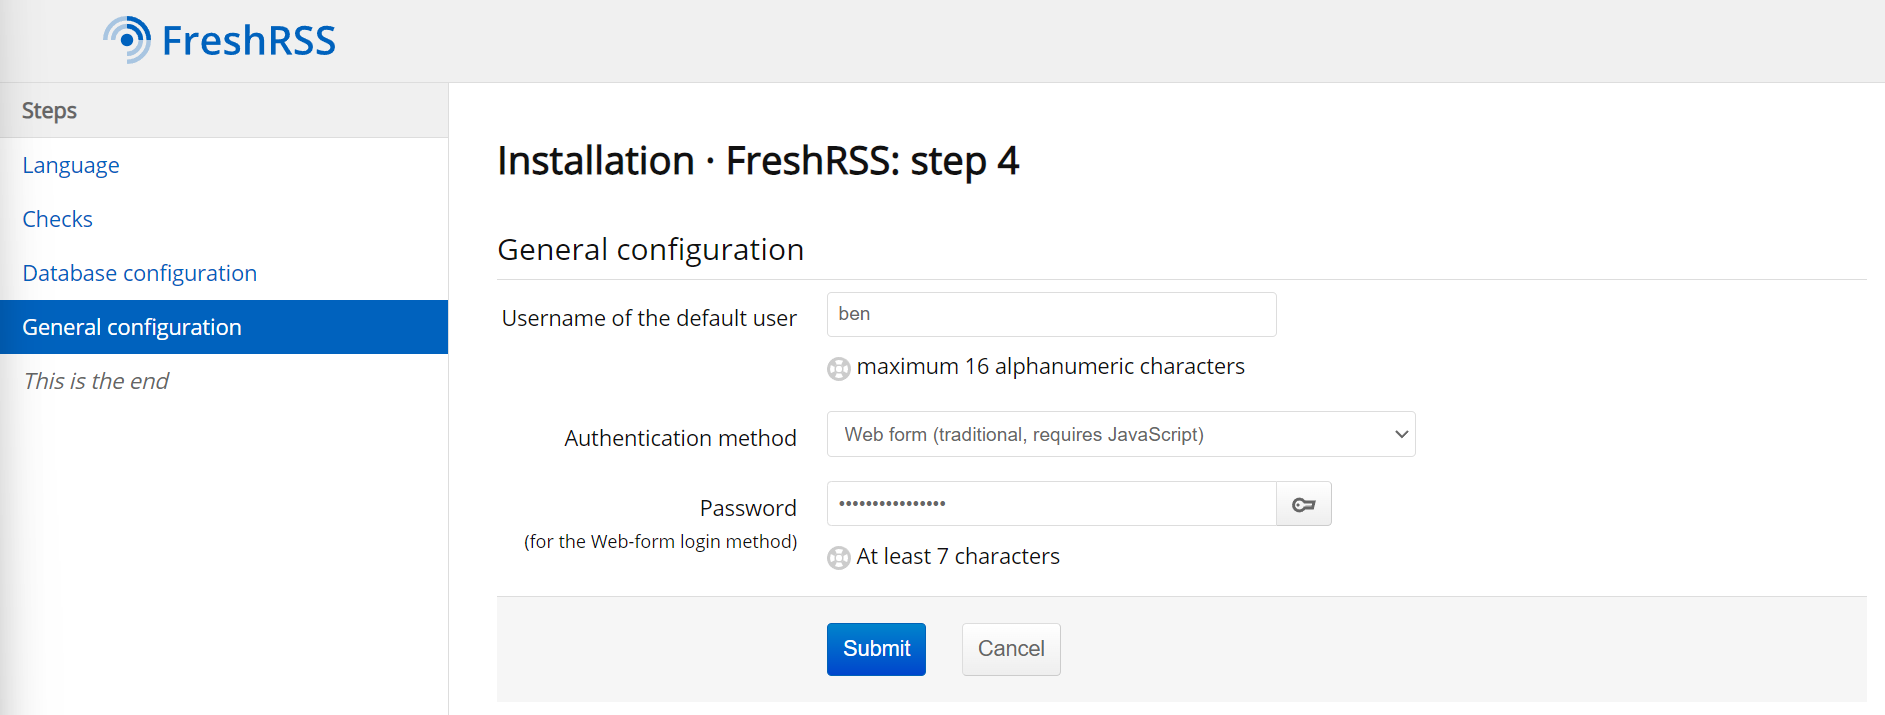
Finally, pressComplete installationand you will be taken to the login page: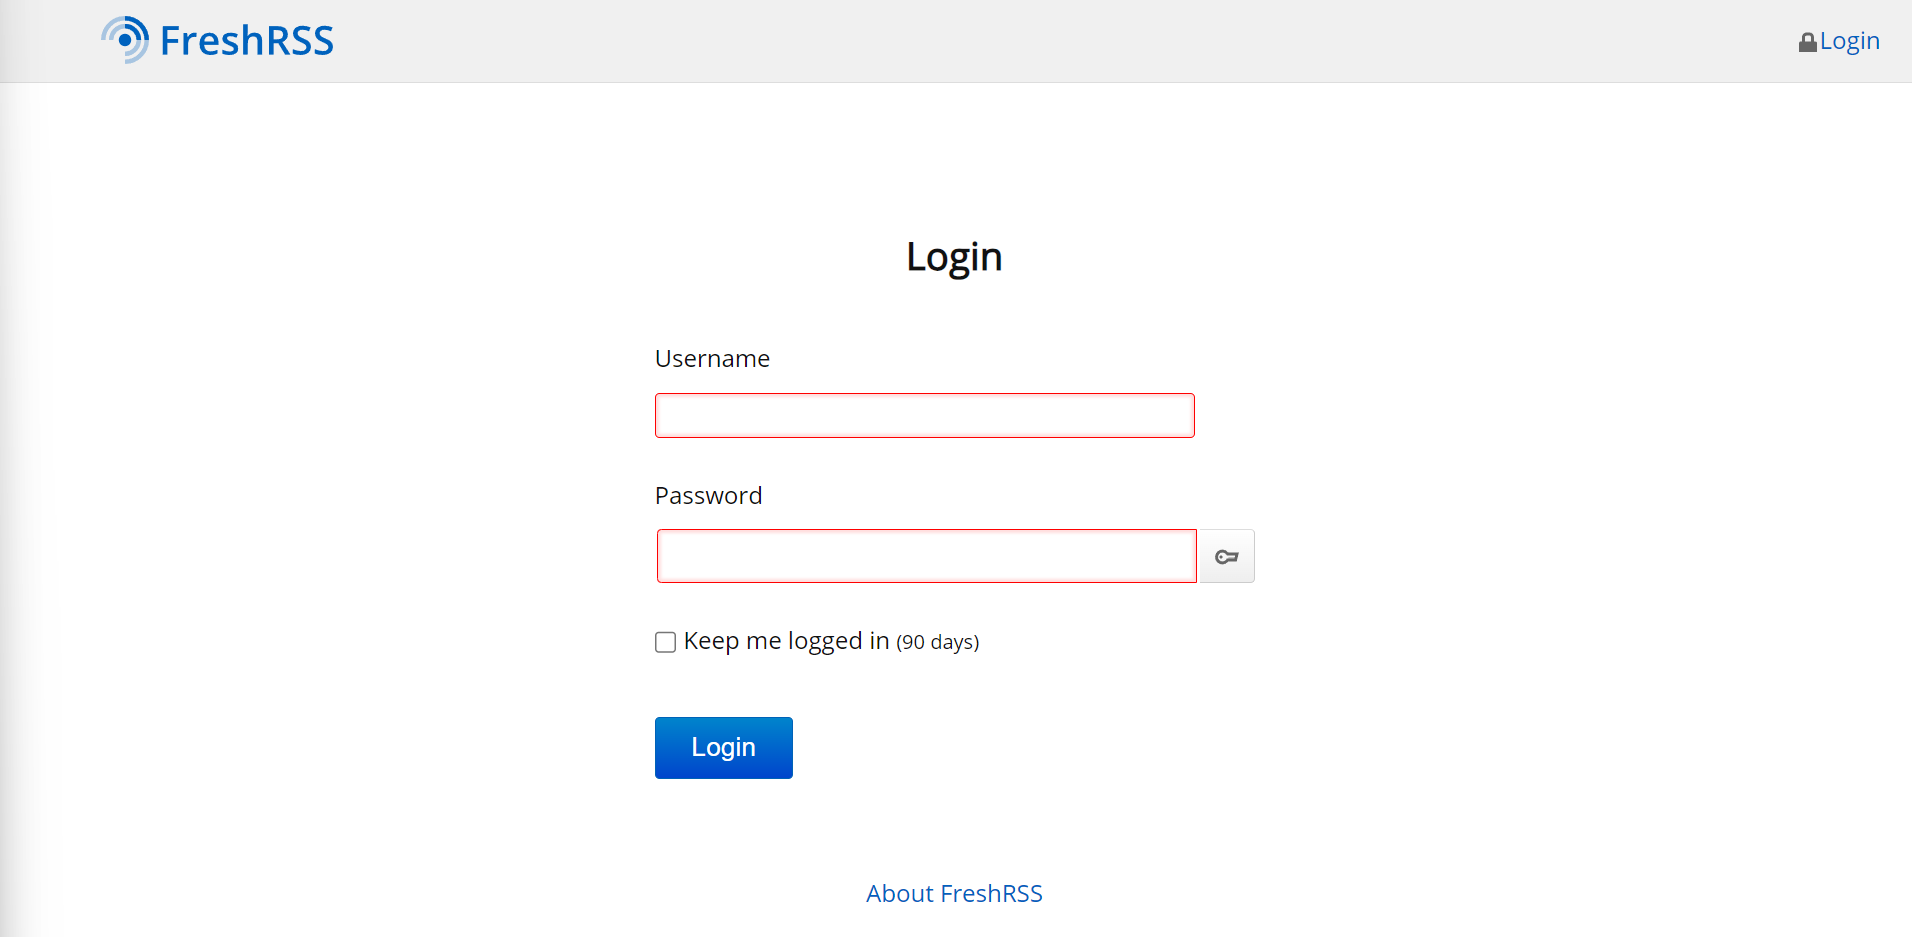
Advice
Once you’ve logged in with the username and password you just set, the world is your oyster. If you’ve ever used an RSS reader, the interface is pretty straightforward, but the key is to use the Subscription management button in the interface to add RSS feeds and categories as you see fit. FreshRSS will, on a regular basis, look for new content from those feeds and put it in the main interface. You can then step through and stay up to date on the sites that matter to you. There are a lot more features you can learn about from the FreshRSS documentation.
On my end, I’d recommend a few things:
- How to find the RSS feed for a page — Many (but not all) blog/news pages have RSS feeds. The most reliable way to find it is to right click on the page you’re interested in from your browser and select
View source(on Chrome you’d hitCtrl+U). HitCtrl+Fto trigger a search and look forrss. If there is an RSS feed, you’ll see something that says"application/rss+xml"and near it will usually be a URL that ends in/rssor/feedor something like that (my blog, for instance, hosted onbenjamintseng.comhas a feed atbenjamintseng.com/rss).- Once you open up the feed,
- Learn the keyboard shortcuts — they’re largely the same as found on Gmail (and the old Google Reader) but they make using this much faster:
jto go to the next articlekto go to the previous articlerto toggle if something is read or notvto open up the original page in a new tab
- Use the
normalview, sorted oldest first — (you do this by tapping the Settings gear in the upper-right of the interface and then selectingReadingunderConfigurationin the menu). Even though I’ve aggressively curated the feeds I subscribe to, there is a lot of material and the “normal view” allows me to quickly browse headlines to see which ones are more worth my time at a glance. I can also use my mouse to selectively mark somethings as read so I can take a quick Inbox Zero style approach to my feeds. This allows me to think of thejshortcut as “move forward in time” and thekshortcut as “move backwards” and I can use the pulldown menu next toMark as readbutton to mark content older than one day / one week as read if I get overwhelmed. - Subscribe to good feeds — probably a given, but here are a few I follow to get you started:
- xkcd (feed URL): classic webcomic
- Saturday Morning Breakfast Cereal (feed URL): another great webcomic
- Paul Graham’s Essays (feed URL): love or hate him, Paul Graham does some great work writing very simple but thoughtful pieces
- Collaborative Fund blog (feed URL): Morgan Housel is one of my favorite writers and he is responsible for most of the posts here
- Benjamin Tseng’s blog (feed URL): you’re already here, aren’t you? 😇 You can also subscribe via email. I write about interesting things I’m reading, how-to guides like this, and my thoughts on tech / science / finance
I hope this helps you get started!
(If you’re interested in how to setup a home server on OpenMediaVault or how to self-host different services, check out all my posts on the subject)