
(Note: this is part of my ongoing series on cheaply selfhosting)
If you’re like me, every few months you have to do something with PDFs:
- Merge them
- Rotate them
- Crop them
- Add / remove a password
- Move pages around / remove pages
- Sign them
- Add text / annotations to them
This ends up either being a pain to do (via some combination of screen shots, printing, scanning, and exporting) or oddly expensive (buying a license to Adobe Acrobat or another pay-PDF manipulation tool).
Enter Stirling PDF tools, a set of free web-based PDF manipulation tools which can also be selfhosted on any server supporting Docker. Given my selfhosting journey these past couple of months, this seemed like a perfect project to take on.
In the hopes that this helps anyone who has ever had to do some PDF manipulation work done, I will share how I set up Stirling PDF tools (on my OpenMediaVault v6 home server)
Stirling PDF
Stirling tools started as a ChatGPT project which has since turned into an open source project with millions of Docker pulls. It handles everything through a simple web interface and on the server (no calls to any remote service). Depending on the version you install, you can also get access to tools converting common Office files to PDF and OCR (optical character recognition, where software can recognize text — even handwriting — in images).
And, best of all, it’s free! (As in beer and as in freedom!)
Installation
To install the Stirling Tools on OpenMediaVault:
- If you haven’t already, make sure you have OMV Extras and Docker Compose installed (refer to the section
Docker and OMV-Extrasin my previous post, you’ll want to follow all 10 steps as I refer to different parts of the process throughout this post) and have a static local IP address assigned to your server. - Login to your OpenMediaVault web admin panel, and then go to
[Services > Compose > Files]in the sidebar. Press the button in the main interface to add a new Docker compose file.
UnderNameput downStirlingand underFile, adapt the following (making sure the number of spaces are consistent)
Underversion: "3.3"
services:
stirling-pdf:
image: frooodle/s-pdf:latest
ports:
- <unused port number like 7331>:8080
environment:
- DOCKER_ENABLE_SECURITY=false
volumes:
- '<absolute path to shared config folder>/tesseract:/usr/share/tessdata'
- '<absolute path to shared config folder>/Stirling/configs:/config'
- '<absolute path to shared config folder>/Stirling/customFiles:/customFiles'
- '<absolute path to shared config folder>/Stirling/logs:/logs'
restart: unless-stoppedports:, make sure to add an unused port number (I went with7331).
Replace<absolute path to shared config folder>with the absolute path to the config folder where you want Docker-installed applications to store their configuration information (accessible by going to[Storage > Shared Folders]in the administrative panel). You’ll notice there’s an extra line in there fortessdata— this corresponds to the stored files for the Tesseract tool that Stirling uses for OCR
Once you’re done, hitSaveand you should be returned to your list of Docker compose files for the next step. Notice that the newFreshRSSentry you created has aDownstatus, showing the container has yet to be initialized. - To start your Stirling container, click on the new
Stirlingentry and press the (up) button. This will create the container, download any files needed, and run it.
And that’s it! To prove it worked, go toyour-servers-static-ip-address:7331from a browser that’s on the same network as your server (replacing7331if you picked a different port in the configuration above) and you should see the Stirling tools page (see below)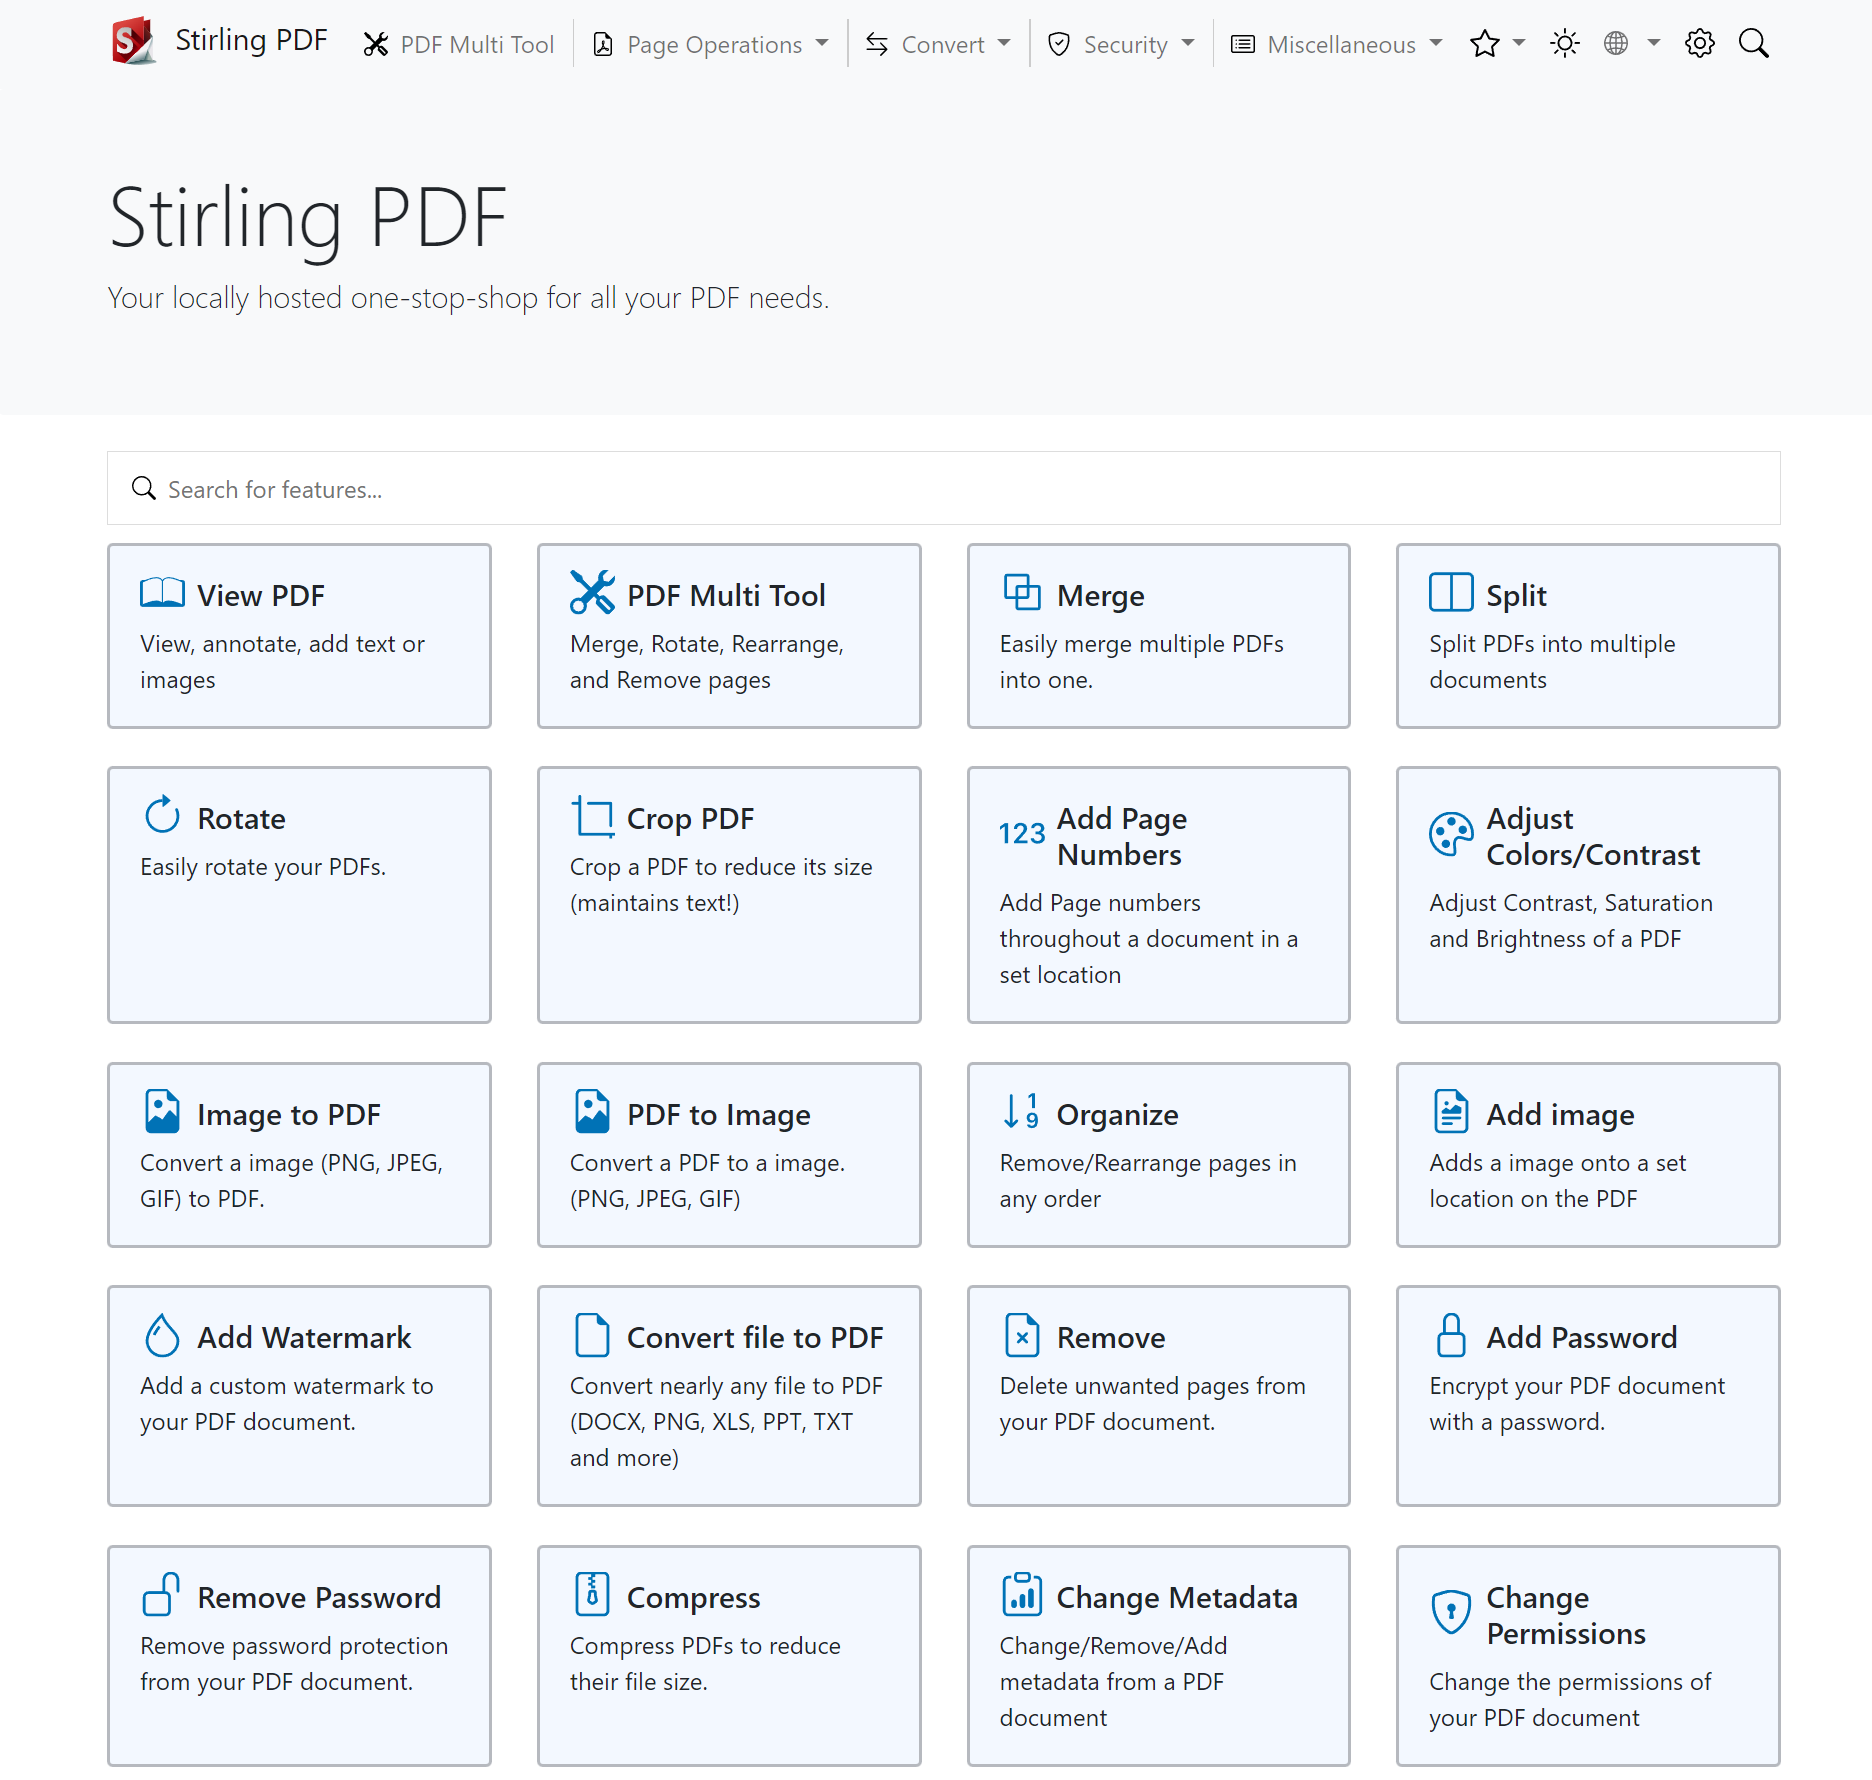
- You can skip this step if you didn’t (as I laid out in my last post) set up Pihole and local DNS / Nginx proxy or if you don’t care about having a user-readable domain name for these PDF tools. But, assuming you do and you followed my instructions, open up WeTTy (which you can do by going to
wetty.homein your browser if you followed my instructions or by going to[Services > WeTTY]from OpenMediaVault administrative panel and pressingOpen UIbutton in the main panel) and login as the root user. Run:
Pick out the file you created before for your domains and runcd /etc/nginx/conf.d
ls
This opens up the text editor nano with the file you just listed. Use your cursor to go to the very bottom of the file and add the following lines (making sure to use tabs and end each line with a semicolon)nano <your file name>.conf
And then hitserver {
listen 80;
server_name <pdf.home or the domain you'd like to use>;
location / {
proxy_pass http://<your-server-static-ip>:<PDF port number>;
}
}Ctrl+Xto exit,Yto save, andEnterto overwrite the existing file. Then in the command line run the following to restart Nginx with your new configuration loaded.
Now, if your server sees a request forsystemctl restart nginxpdf.home(or whichever domain you picked), it will direct them to the PDF tools.
Login to your Pihole administrative console (you can just go topi.holein a browser) and click on[Local DNS > DNS Records]from the sidebar. Under the section calledAdd a new domain/IP combination, fill out underDomain:the domain you just added above (i.e.pdf.home) and next toIP Address:you should add your server’s static IP address. Press theAddbutton and it will show up below.
To make sure it all works, enter the domain you just added (pdf.homeif you went with my default) in a browser and you should see the Stirling PDF tools page. - Lastly, to make the PDF tools actually useable, you’ll want to increase the maximum allowable file upload size in OpenMediaVault’s default webserver Nginx (so that you can use the tools with PDFs larger than the incredibly tiny default minimum size of 1 MB). To do this, log back into your server using WeTTy (follow the instructions above) and run:
This opens up the text editor nano with the master configuration file for Nginx. Use your cursor to go to some spot aftercd /etc/nginx/
nano nginx.confhttp {but before the closing}. This configures how Nginx will process HTTP requests (basically anything coming from a website). Enter the two lines below (making sure to use tabs and end the second line with a semicolon; to be clear"... stuff that comes by default..."is just placeholder text that you don’t need to write or add, it’s just to show that the two lines you enter need to be inside the{})
And then hithttp {
... stuff that comes by default ...
## adding larger file upload limit
client_max_body_size 100M;
... more stuff that comes by default ...
}Ctrl+Xto exit,Yto save, andEnterto overwrite the existing file. Then in the command line run the following to restart Nginx with your new configuration loaded.
Now, the PDF tools can handle file uploads up to 100 MB in size!systemctl restart nginx - Lastly, to make full use of OCR, you’ll want to download the language files you’re most interested in from Tesseract repository (the slower but more accurate files are here and the faster but less accurate files are here; simple click on the file you’re interested in from the list and then select
Downloadfrom the “three dot” menu or by hittingCtrl+Shift+s) and place them in the/tesseractfolder you mapped in the Docker compose file. To verify that those files are properly loaded, simply go to the PDF tools, select the one calledOCR / Cleanup scans(or visit<URL to PDF tools>/ocr-pdf) and the language files that you’ve downloaded should show up as a checkbox.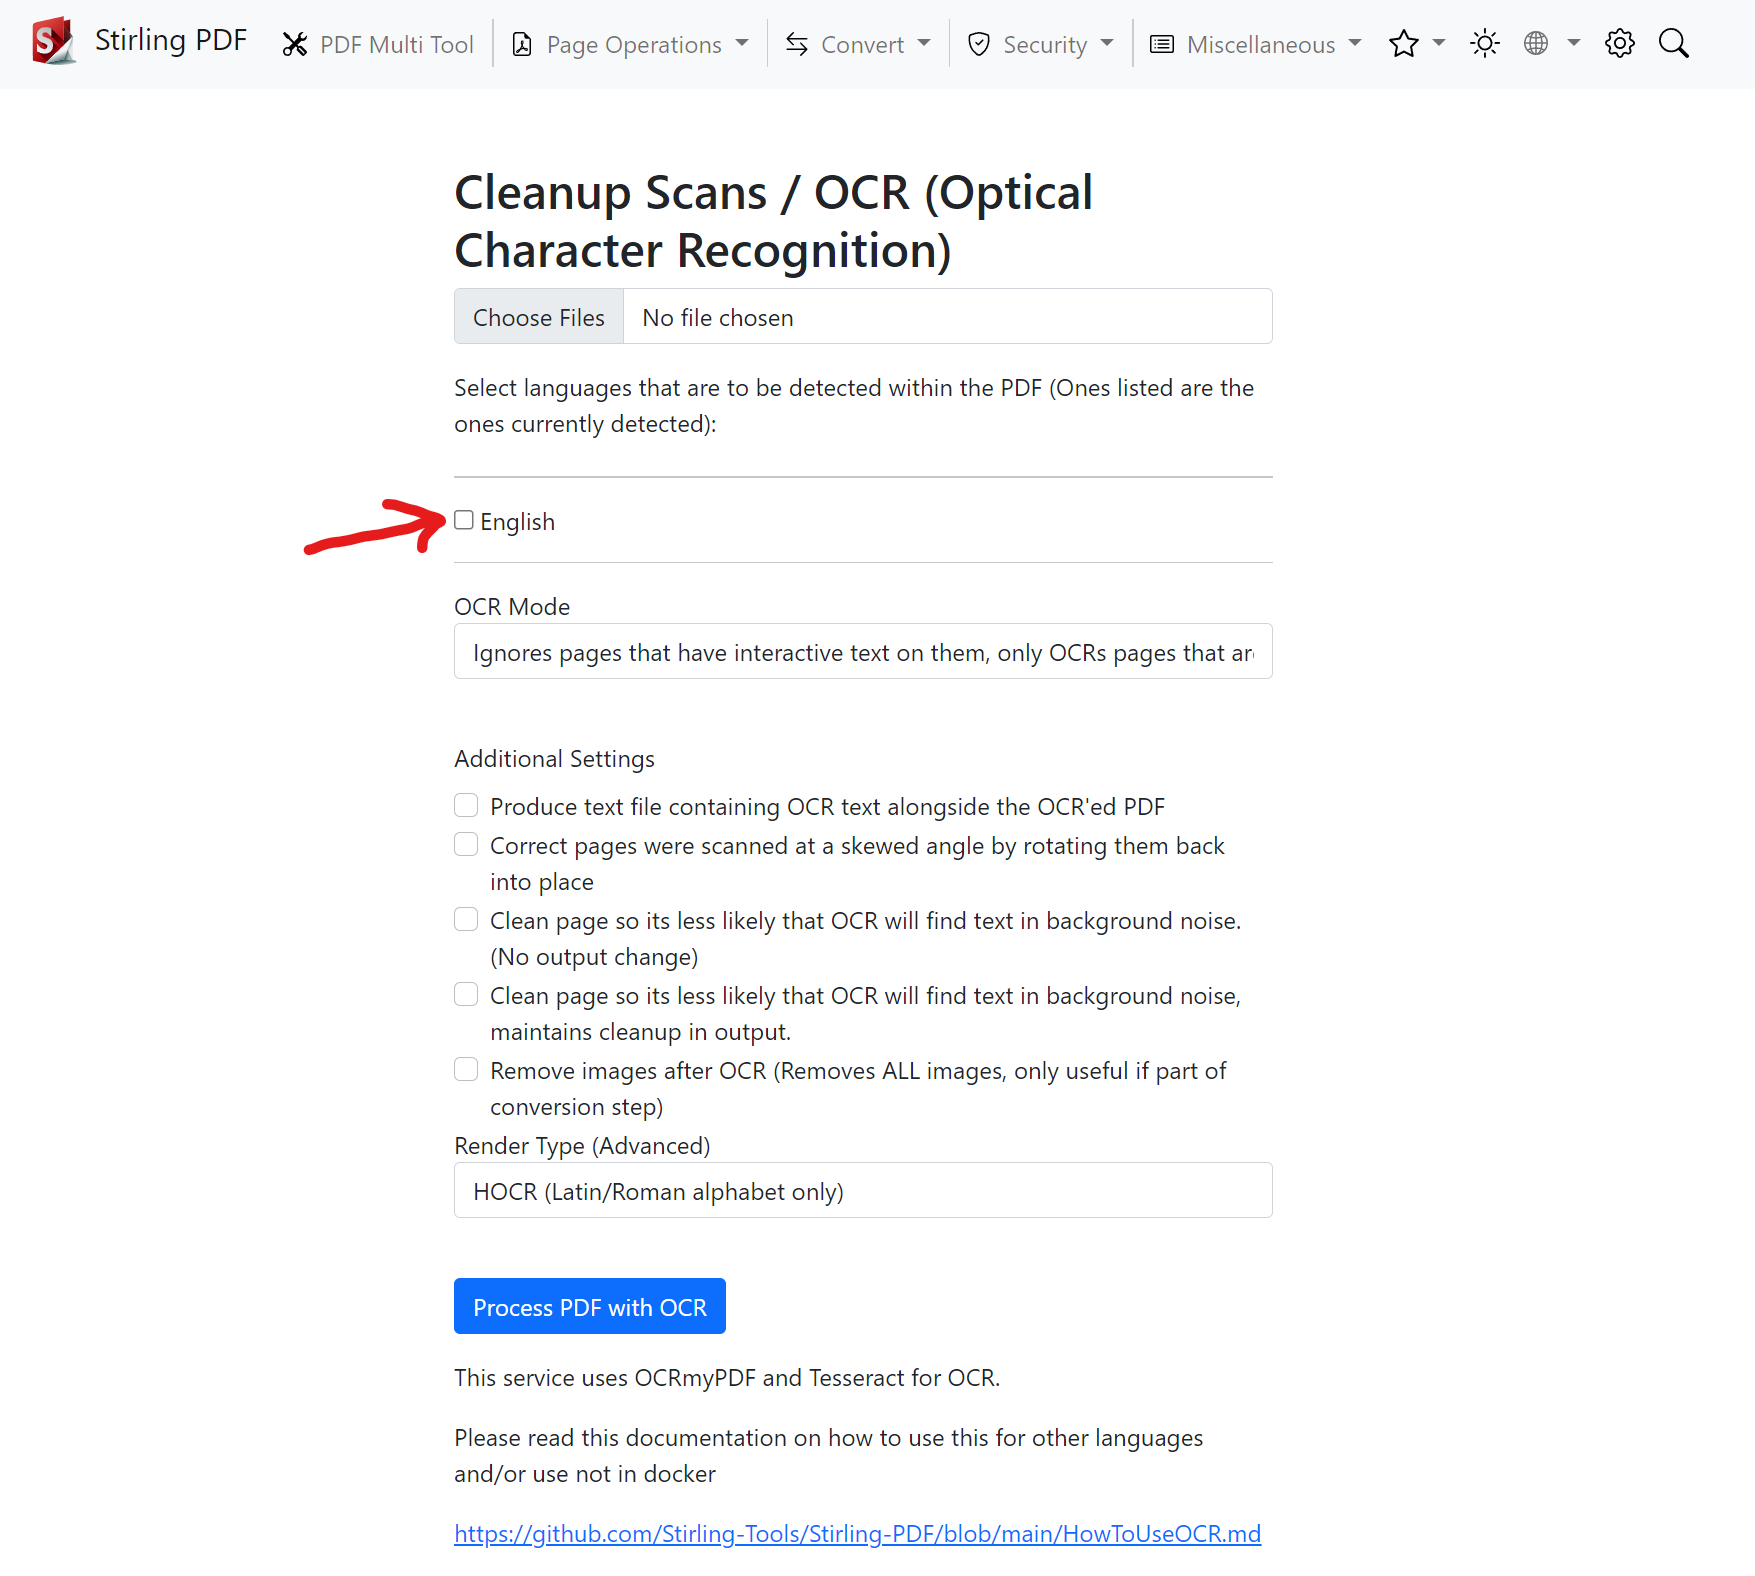
And now, you have a handy set of PDF tools in your (home server) back pocket!
(If you’re interested in how to setup a home server on OpenMediaVault or how to self-host different services, check out all my posts on the subject)
Leave a Reply